Avoiding Splinters & Rough Edges: Sanding and Finishing Techniques
Sanding: Your Pet's First Line of Defense. Literally.
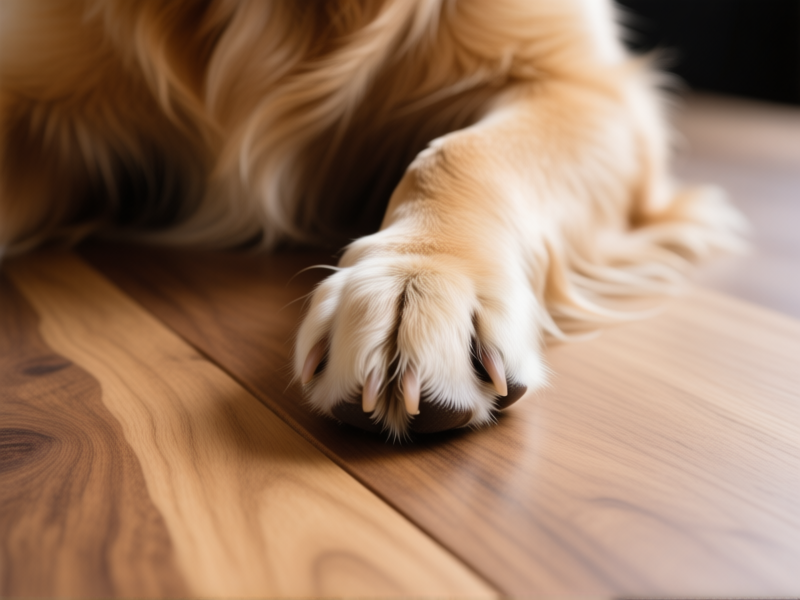
Let's cut the nonsense. That rustic, rough-cut lumber you bought? It’s a splinter factory waiting to happen. Your pet doesn't care about your aesthetic. They care about not getting a nasty splinter in their paw or mouth. Think about it. They’re crawling on it, chewing the corners, rubbing against it. Sanding isn't the boring prep work you skip to get to the "fun" building part. It’s the single most important thing you'll do for their safety. Period.
Tools of the Trade: It's Not Just Elbow Grease
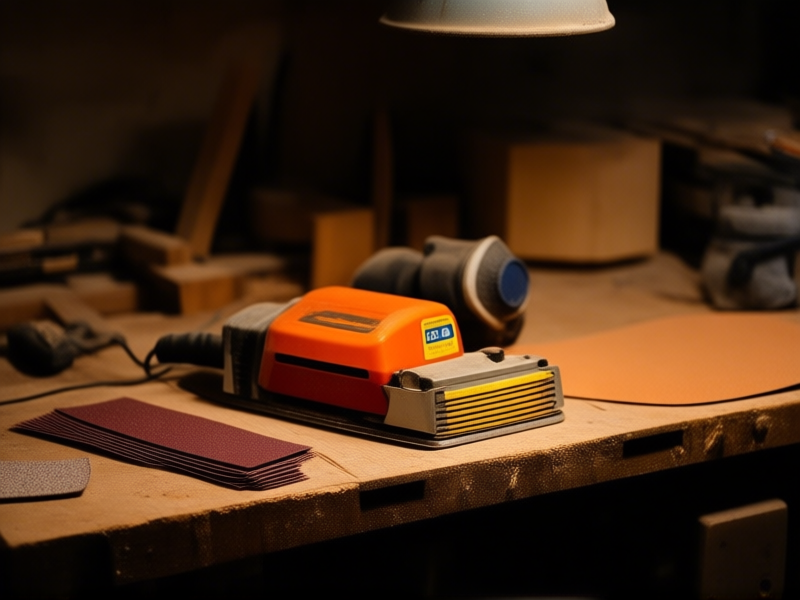
Forget hand-sanding the whole thing unless you want arms like a gorilla and a project that never ends. A decent random orbital sander is your best friend here. It doesn't leave swirl marks. The key is the sandpaper grits. You start mean and get nice. 80 or 100 grit to knock down the really rough stuff and shape rounded edges. Then you move to 120, then maybe 180 or 220. Each pass erases the scratches from the last. Skipping grits is like trying to buff out a car dent with polish. You're just making the big scratches shiny.
The "Can't-Snag-a-Sock" Test for Edges
Here's the real trick for smooth edges on pet furniture. After you've sanded, close your eyes. Run your bare hand over every single surface, especially corners and legs. Feel for any catch, any tiny bump. Now, grab an old cotton t-shirt or a sock. Drag it lightly over the wood. If it snags, even a little, you're not done. Your pet's fur or skin is more sensitive than that fabric. Corners should be noticeably rounded, not just slightly softened. Be ruthless. If it snags the sock, it'll snag your dog.
The Finish Line: Seal the Deal, Safely
Sanding gets it smooth. The finish *keeps* it smooth and protects it from drool, dirt, and, let's be real, accidents. But you can't use just anything. Avoid old-school oil-based varnishes or exotic hardwax oils that need harsh chemical solvents. They stink for ages and can be toxic. Go for a modern, water-based polyurethane or a pet-safe hardwax oil designed for interior use. They're tougher than you think, dry fast, and have very low odor. Apply thin coats, sand lightly with 220-grit paper between coats (called "de-nibbing"), and do at least two or three. This creates a sealed, wipeable surface that locks in that smoothness.
The Final Inspection: Get on Their Level
You think you're done? Not yet. Get on your hands and knees. Seriously. Look at the piece from your pet's perspective. Check the undersides of shelves, the backs of legs, the inside corners of a cubby. These are the spots we lazy humans miss, but where a curious nose will definitely go. Run the sock test one more time over every hidden inch. Finding a rough spot now is annoying. Finding it because your cat got a splinter is heartbreaking. Do the crawl. Then, and only then, call it done.