Safe Sealants for Hamster Cage Bottoms: Preventing Moisture Damage
Moisture is the Real Cage Enemy (Not Your Hamster)
Let's get one thing straight: hamsters are tiny, adorable chaos machines. They dribble water from their bottle. They stash fresh veggies that slowly turn to mush. They pee. That moisture has to go somewhere, and a wood cage base soaks it up like a sponge. Before you know it, you've got warping, mold, and a smell that... well, let's not go there. Protecting the wood isn't just about cage longevity. It's about creating a healthy, dry home for your pet. A soggy cage is a bad cage. Period.
The Usual Suspects: What NOT to Use in a Hamster Home
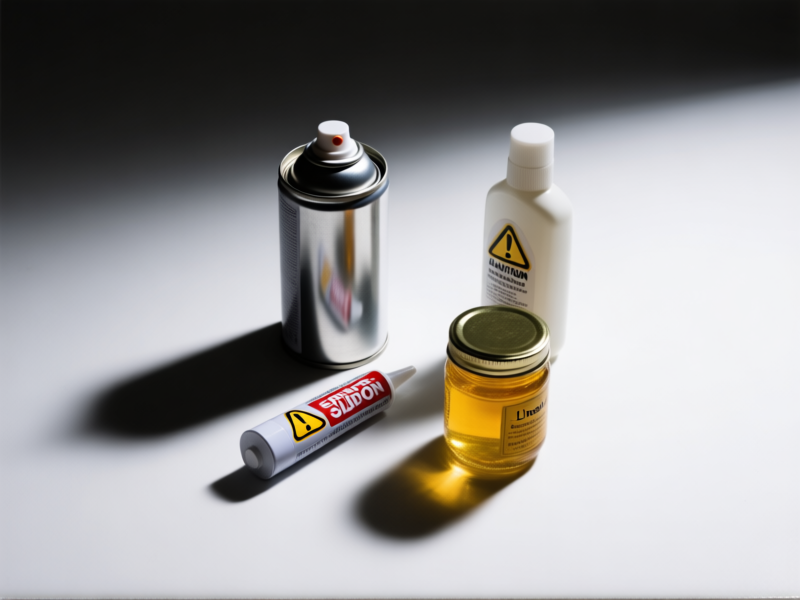
Your garage or shed is full of stuff that seals wood. Most of it is terrible for a hamster. Regular paints and varnishes? They off-gas volatile organic compounds (VOCs) for weeks. That's a fancy way of saying they dump toxic fumes into the tiny airspace of the cage. Silicone caulk? Often contains anti-mold chemicals that are a big no-no. Linseed oil? Takes forever to cure and can go rancid. It’s a pet owner's trap. You think you’re solving a problem, but you’re just trading a wet cage for a poisonous one.
The Hero Sealant: Water-Based Polyurethane
Here's your champion. A clear, water-based polyurethane. Why? First, it's incredibly durable. It creates a plastic-like shield that water literally beads up on. Second, and this is the big one, it's low-VOC and cures by *water evaporation*, not by releasing a chemical soup. Once it's fully cured—and I mean fully, read the can—it's inert. It doesn't smell, it doesn't off-gas, it just sits there being a brilliant, waterproof barrier. Look for brands like Minwax's Polycrylic or General Finishes Water Based Topcoat. Apply multiple thin coats. Sand lightly between them. Patience is key.
Your DIY Blueprint: Sealing Like a Pro
Okay, you've got the good stuff. Now, don't ruin it by rushing. Empty the cage completely. Sand the entire interior bottom and a few inches up the sides. Get all the old gunk off. Wipe it down with a barely damp cloth—no soaking it—and let it dry completely. In a well-ventilated area (not inside your house!), apply the first thin coat with a good brush. Let it dry for the time on the can. Lightly sand again, just to knock down any nibs. Wipe. Second coat. Maybe even a third. Then comes the hardest part: the cure. Let that cage air out for a *minimum* of one week. Two is better. No hamster until it has zero chemical smell. Your nose is the best test.
My Take: The Extra Mile for Peace of Mind
Look, I've done this. I've used the water-based poly. It works. But I'll tell you what I do now: I use it *and* I line the bottom with a sheet of corrugated plastic (Coroplast) cut to fit. It's that plastic board used for signs. You can score and fold it to make a seamless tray. It's a physical, chew-proof, idiot-proof moisture barrier on top of your chemical seal. It’s overkill? Maybe. But overkill means I never, ever worry about a hidden leak slowly rotting the wood from underneath. For a creature that lives maybe two years, giving it the driest, safest possible start feels like the absolute least we can do.