The Ultimate Guide to Building a Stacked Cat Perch & Rodent Enclosure
Stop the Interspecies Drama, Reclaim Your Living Room.
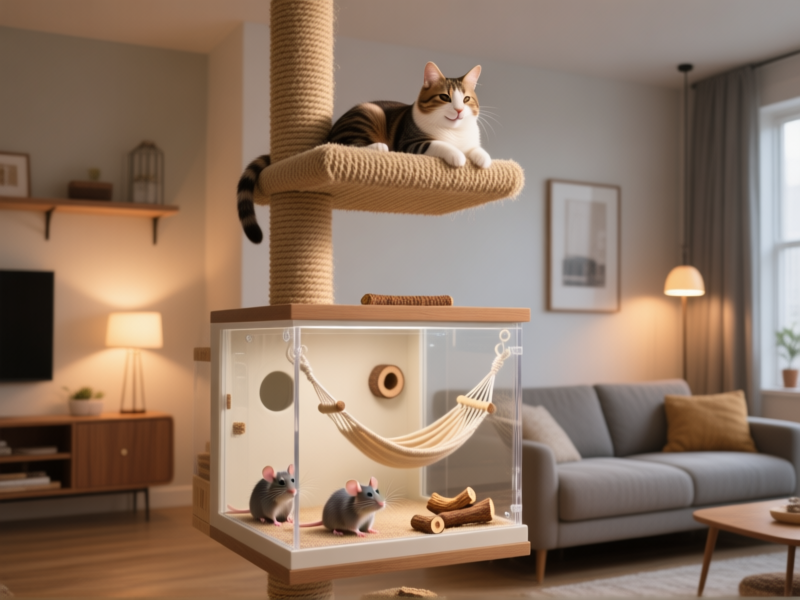
Look. Cats want the high ground. It’s a law of nature. Rodents, the fluffy pet kind, need secure space to do their thing. And you? You want your living room back from an avalanche of separate, ugly cages and wobbly cat trees. This project solves all of it. It’s a vertical pet metropolis—a penthouse for your feline overlord with a secure, stylish apartment for your smaller pals underneath. We’re not just building furniture. We’re engineering a peace treaty. And it looks way cooler than anything you can buy.
The Gear: No Fancy Tools, Just Smart Choices.
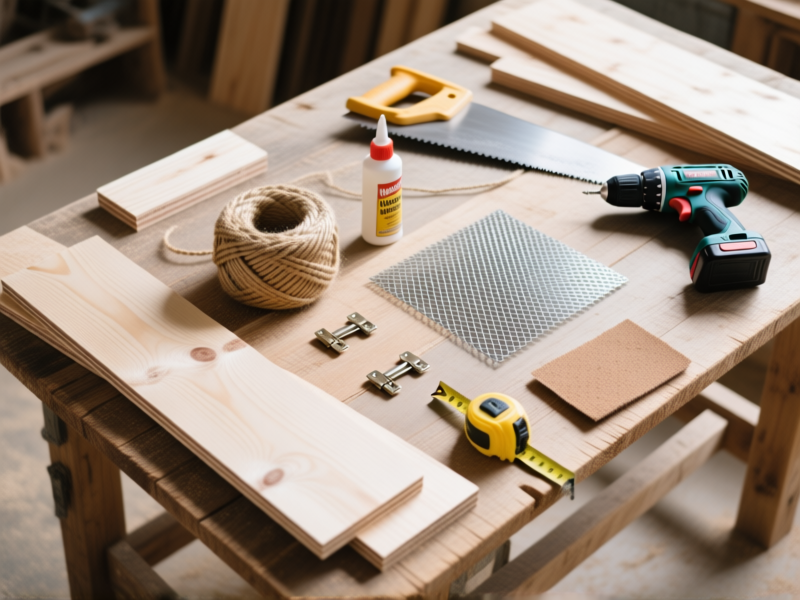
You don't need a warehouse. A basic cordless drill, a saw (a circular saw is ideal, but a handsaw works if you're patient), a sander, and a staple gun are the heroes here. The magic is in the materials. We're using half-inch sanded plywood for the main structure—birch if you want it to look nice, standard if you're painting it. For the rodent enclosure, we need ventilation they can't chew through: stainless steel mesh is the gold standard. Throw in some clear acrylic for a viewing window, a big roll of sisal rope for the scratching post, and you're 90% there. Hit the hardware store with this list; you'll be in and out.
Phase One: Fortress Construction (The Bottom Half).
Start with the base. This is the rodent's world, so security is non-negotiable. We're building a solid box with a framed mesh front for airflow and viewing. The key? Every joint is glued and screwed. Every edge is sanded smooth so no little toes get snagged. The door is a full-frame mesh panel on sturdy little hinges with a solid latch—think "toddler-proof," because some pets are tiny escape artists. This part isn't glamorous, but doing it right means you can sleep soundly knowing everyone is safe in their own zone.
Phase Two: The Sky's the Limit (The Cat Penthouse).
Now for the fun part. The top of the rodent cage becomes the foundation for the cat tower. We’re attaching a solid 4x4 post right through the center. This post is the backbone. Onto it, we’re mounting platforms at different heights—one for sprawling, one for perching. Wrap that post tightly with sisal rope from the base up about three feet. This is your cat’s personal scratching gym. The platforms get carpet remnants or plush fleece for napping. The goal is stability; a wobbly perch is a useless perch. When you’re done, give it a good shake test. It shouldn't budge.
Finishing Touches: From Workshop to Showroom.
Raw wood and sharp edges are a hard no. Sand everything again. I mean everything. Then, choose your finish. For the rodent area, use a water-based, non-toxic polyurethane. It seals the wood from moisture and makes cleaning a breeze. For the cat areas, you can stain or paint (fully cured and odorless, please) or just leave it natural with a light sealant. This is where it stops looking like a shop project and starts looking like a piece of intentional furniture. Don't rush this step.
Making it a Home: The Fun Part.
Here’s where personality kicks in. For the rats or mice below, think enrichment: hanging ropes, a small hammock clipped to the mesh, wooden chews. Keep it clutter-free for easy cleaning. For the cat, maybe a dangling toy from the highest platform or a soft bed on the middle tier. The real win? This unit tucks into a corner, saving a ton of floor space. You didn't just build a pet thing. You built a conversation piece that finally lets your furry family live in harmony.